🔧 How to Modify Automation Settings in Sush.io (QuickBooks Integration)
Once you've connected your Stripe account to QuickBooks via Sush.io, you can fine-tune how your data syncs. Here's how to do it:
1. Go to Your Connected Account
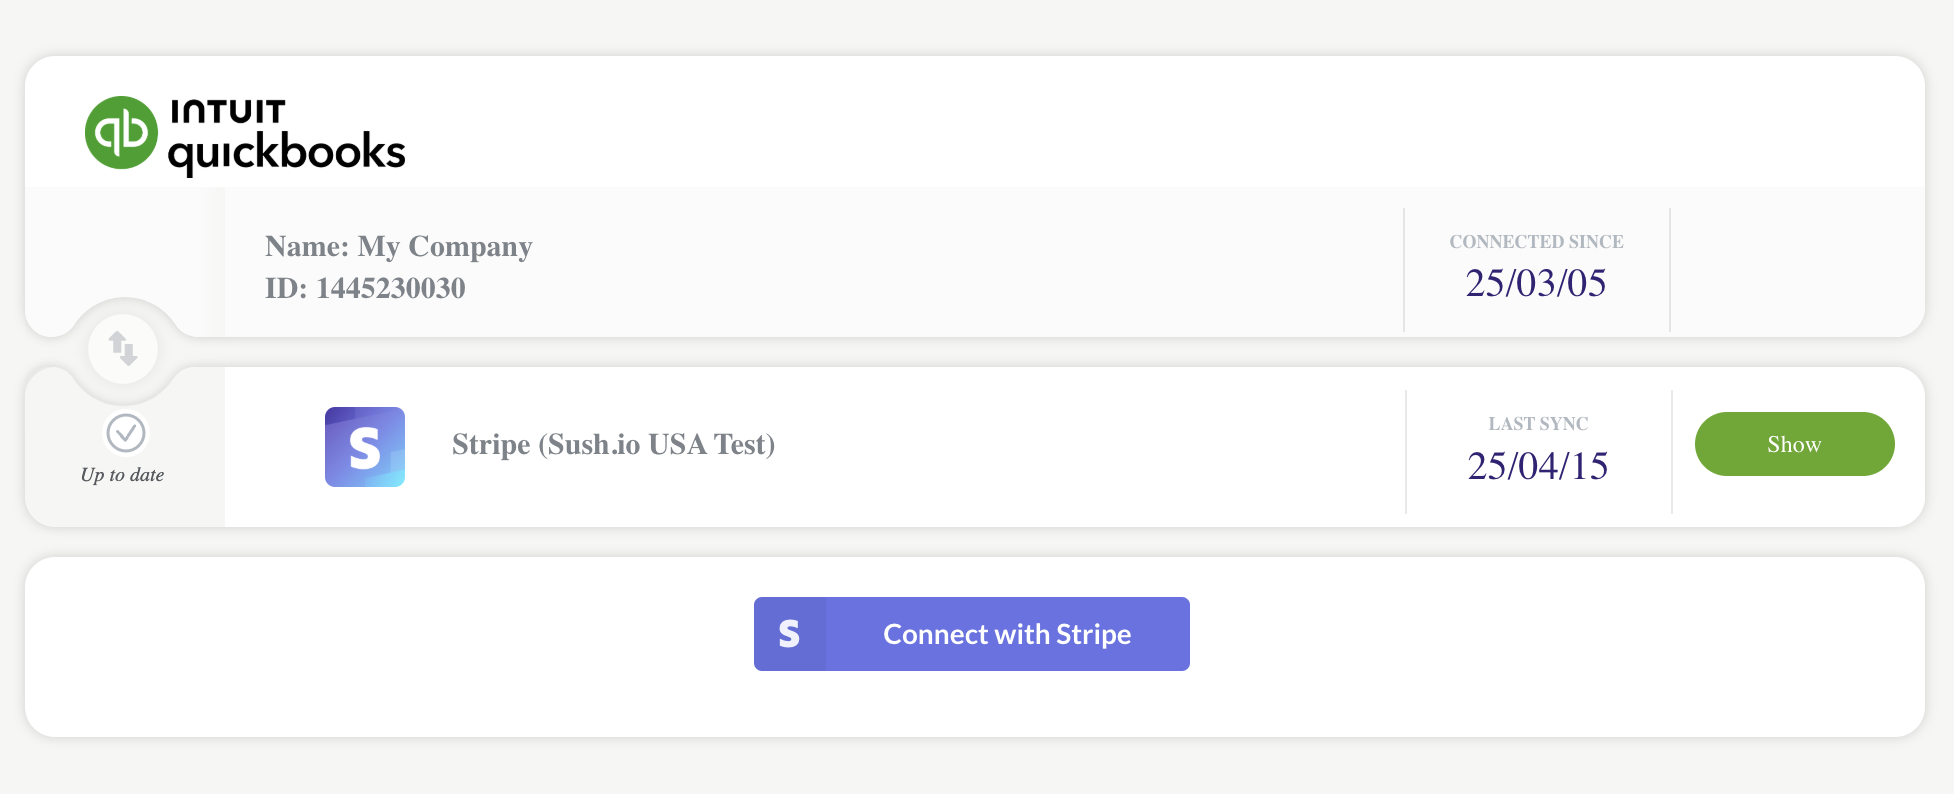
From the dashboard, locate your Stripe account (e.g., Sush.io USA Test). You'll see the connection status and the "Show"button under LAST SYNC — click it to open the details.
2. Open the Settings Tab
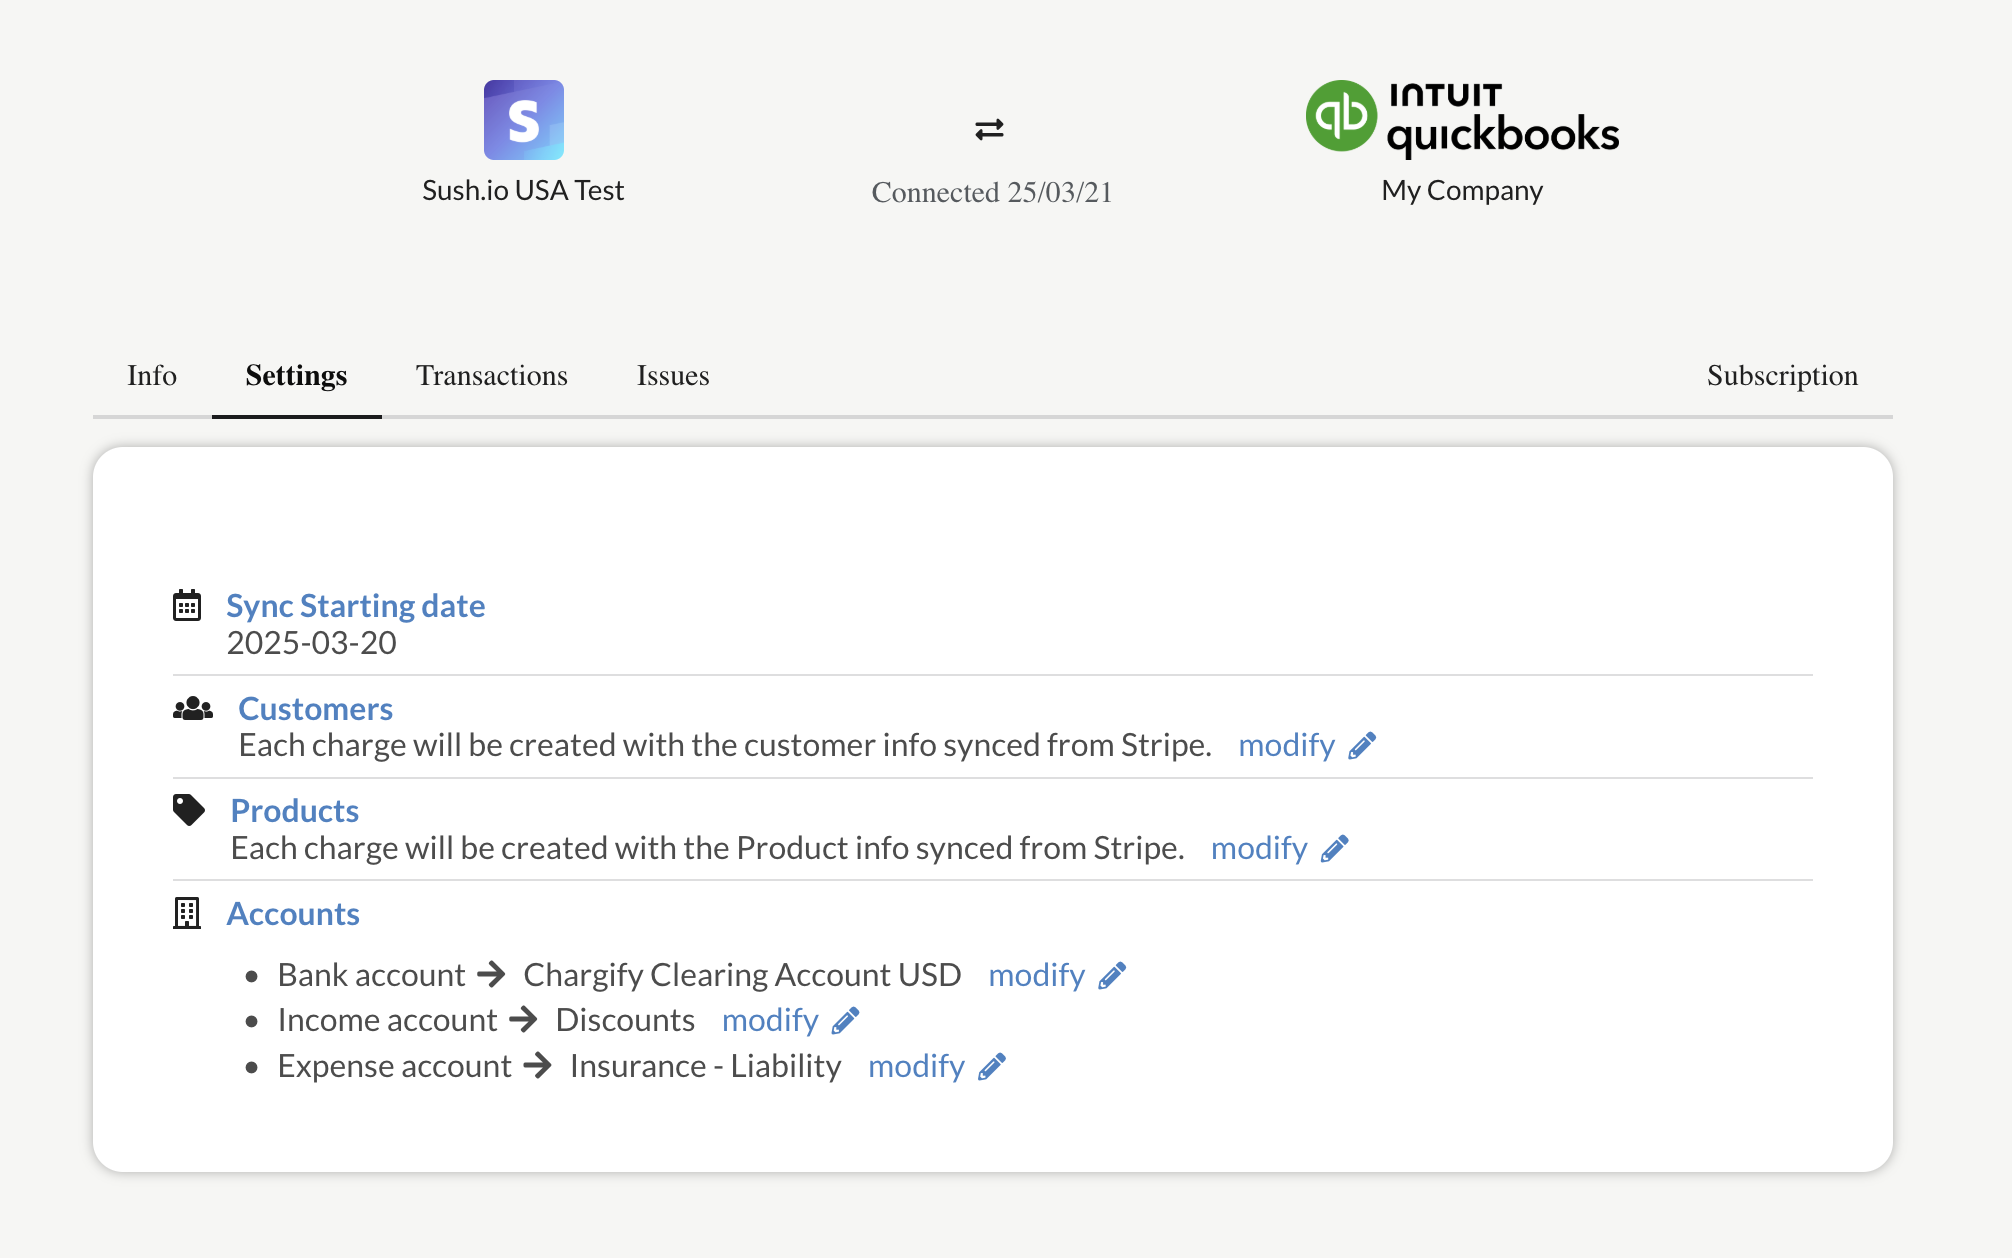
At the top, navigate to the Settings tab. This is where you control how the automation behaves.
3. Modify Sync Options
You can change the following:
- Sync Starting Date: Choose from when you want data to start syncing. (only before the first sync)
- Customers: Enable/disable syncing customer info from Stripe. Click modify to adjust.
- Products: Same for product info — click modify if needed.
- Accounts Mapping:
- Bank Account (e.g., Chargify Clearing Account USD)
- Income Account (e.g., Discounts)
- Expense Account (e.g., Insurance - Liability)
- Taxes
- Class Tracking
Each of these can be changed by clicking the modify icon next to it.
🆗 You're Done!
Changes are saved instantly and will affect future syncs. The interface is built to keep things smooth and flexible.